This guide will cover the process of adding introductory title screens and on-screen captions to your videos. Although, you can continue to work with the sample video clip. These basic editing functions are equally useful for a wide range of video genres if only most of them are pointed out.
- Start by opening up a portion of the ‘original’ video in NeoFilm within the one-minute interval I captured.
- As we expect, the file opens and immediately starts playing in the main source window; but before that, you will get a pop-up window:
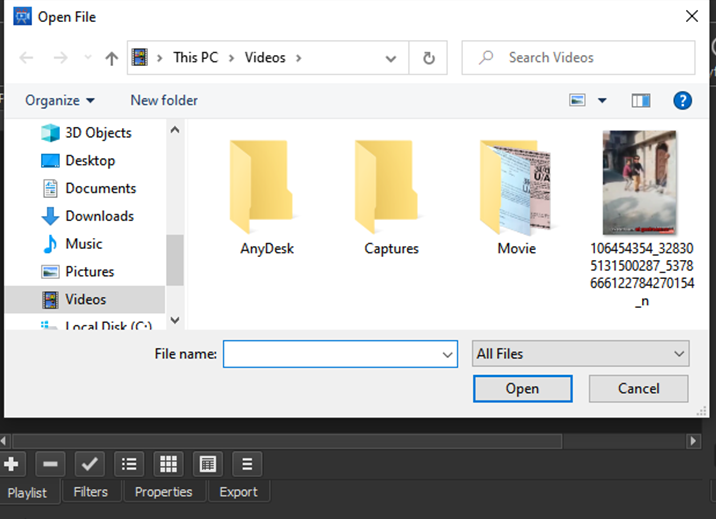
- By default, NeoFilm will choose a name (and location) that is used previously to open any new file. You can change or select a different path at any time.
- This process is sorted into a job and pointed out in the Jobs panel, which opens to the right side of the primary source window and displays this work with the progress indicator.
- When this replacement work is completed, it will show the total work time, and the icon will turn green.
- Now double click on this item in the Jobs panel, and it will convert the converted .mov file to your original MP4 file source.
- You will see the edit-friendly version of the video clip is now in its own timeline:
Editing Titles
The list of ”favorite filters includes some popular filters for adding video, audio track, and HTML overlays. But this is a small subset of the wide range of filters available that filters can be searched/sorted differently using the buttons now found at the bottom of the panel. Here is how you can edit the titles.
- Select the second (screen) button to get along, alphabetical list of changes related to changing the visual features of the video display.
- The text filter at the bottom of this list is as follows:

- Now double-click on the text filter in this list, NeoFilm will add this filter to the selected playlist item and simultaneously open a dialog that reveals various key properties of the text filter.
- The most important asset of a text filter is, of course, the text itself. By default, the text is set to the time code field and the largest white Verdana font.
- The effect of the actual video display is now shown in the main source panel.
- We can replace the #time code # keyword with the text of our choice; then we enter the selected title of the video here.
- You can click the button labeled “Verdana” to start the dialog that allows you to control all font properties:
- You can keep the Verdana font and can change it to bold.
- Allow the font size to be controlled by the full size of the text area on the screen.
- After a little more manipulation, our result looks like this:
Shortcut Text Filter It is necessary to add your own line spaces to the text (otherwise, it will be extended to a single line of text).
- You can also select a “horizontal fit” of the center (which is actually aligned with the center rather than right or left-justified).
NOTE: Keep in mind that this means focusing on the text field, not the overall video screen.
- Now the text is not centered on the screen, but this time you can drag the entire text field from the circle in the center to where you want it on the screen.
- After a little drag and some resizing, the text will be placed on the screen.
- As soon as you move the playlist from that section, the displayed image will suddenly change from yellow text / black background to the next.
This is what happens when playing in real-time. So when the 4-second start topic is now the way we want it to be, we need to do something about the abrupt change. However, you already know how to turn this into a good melting point: using your mouse on the chronology, you need to drag the introductory image section slightly to the right (or drag the second part slightly to the left), with each other creating a melting of that period.
- Here you can see the familiar cross-section that marks the melting point between the introductory title and the opening ‘shot’ of the video.
- Before, you drag left, a blank area to the left of the title image that you could right-click / ‘delete’, and everything else would fall to zero.
- Now, if you drag the playhead back to the right-center of that cross shape (i.e., the middle of the transition), you will see the introductory title dissolve nicely in that opening shot.