As soon as you open any video, it will be shown on the core panel of the NeoFilm UI (called the source panel) and starts playing. In this guide, we will explain the playlist, timeline, and preview options.
Playlist
To convert an uploaded file to a real editable asset, you need to add it to the playlist.
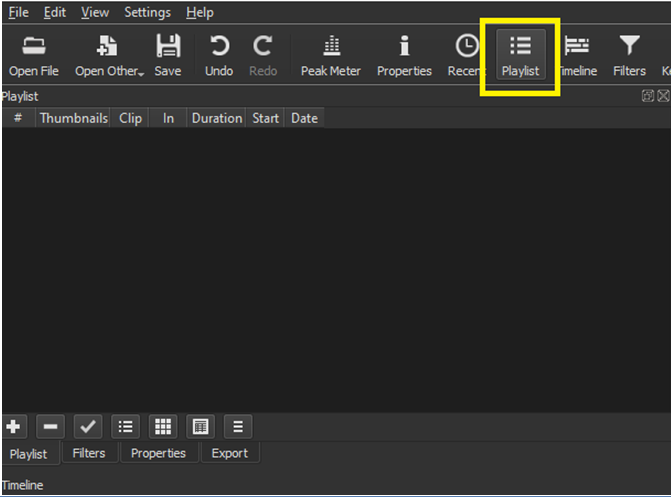
- You can do this by opening the playlist panel, by clicking the playlist button on the toolbar at the top of the tool.
- At the starting point, the playlist will still be empty.
- The empty playlist panel will show you many useful steps.
- You can follow these steps by clicking on the white + button on the bottom left of the panel.
- This will add to the playlist what is currently shown in the source, which will now be displayed as follows:
Note: The properties panel has replaced the playlist panel in this part of the entire UI, but the latter panel will be open, and can now be accessed via the tab, which you can see at the bottom of the properties panel. It will help you to switch back and forth between the two.
- Now you can see the clip is in the playlist; you can immediately start changing it from there in many ways.
- After clicking on this playlist item to select it (it will turn blue, as shown at that time), and to display the Properties panel, click on the Properties button at the top of the toolbar and load it with its properties.
Timeline
- Usually, the timeline panel will open automatically when you first open the video file.
- If it doesn’t work, you can open it via the timeline button on the top toolbar.
- The Timeline panel has its restrictions.
- For a start, you only need the big + button here.
Note: Do not confuse the + button in the playlist controls, which added items from the source to the playlist – if you ever make such a mistake, delete it using the undo button).

- This + button will add any selected items in the playlist to the timeline.
- In case there is already a video file in the timeline, and it is selected, a new video file will be added to that path (or any content already in it).
- If the track has no track yet, this control will automatically create one and add the video clip to point 0. This is what happens when we add to our first clip of the project.
- What you see here is a video track called “V1” created by NeoFilm, in which the video clip is inserted and starts at point 0.
- The audio track of this clip will also be included in the same path (we can split it into a separate audio track if desired); you can see this as a wave-shape at the bottom of the path.
- Not all these details are particularly different or interesting in this particular case because it is the sound of a waterfall recorded with the video. However, with something like a voice or music soundtrack, one can easily distinguish individual sounds or words into a waveform, so you can decide where to edit the soundtrack if needed.
- First, you can use video play controls when you first open the file as a source; but the play, which is most useful in this context, is the vertical white line visible, with its triangular traction point visible in the first place.
- Now you can use the left and right arrow keys on the keyboard to move back and forth through a section of the path, at short intervals.
- When you do this, you will also hear the corresponding audio for these precise locations, unless you choose to disable it (the far left of the Disable button controls).
Preview
The Preview scaling system can be used to reduce the resolution of video processing when you use reasonably sized filters, transitions, and track mixing. This may help with performance during the editing process. However, you should keep in mind that the original video or images should generally be measured to the size of the designed preview, and this will incur processing costs.
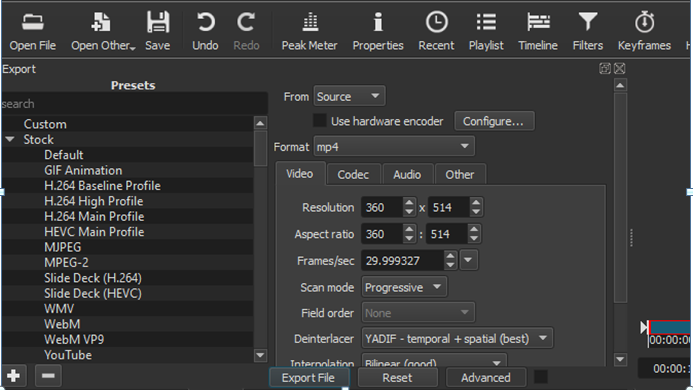
- The preview option is available in the Settings under Calibration.
- If you are using a larger or higher DPI screen or are editing with high resolution, you may want to edit at a higher resolution.
- NeoFilm offers options for 540p and 720p in addition to 360p for vertical resolution.